SAML2 Configuration with Okta
Overview
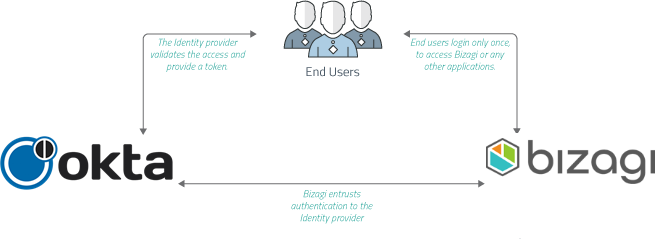
Bizagi supports integration with Identity and Access Management systems (e.g., Identity Managers or Identity Providers) that are SAML 2.0 compliant, such as Okta.
This section is a step-by-step guide to the configuration needed, both in Okta and in Bizagi, to have an integrated authentication in Bizagi against Okta.
For SAML 2.0, both your Identity Provider and your Bizagi project need to support HTTPS.
For introductory information about SAML 2.0, refer to Authentication via SAML.
Note:
If you plan on using an authentication method different than Bizagi and you are performing a deployment to an environment with no users on it (normally this would only be the case for a project's first deployment), follow these steps so that you can correctly configure your users and authentication without getting locked out of the Work Portal:
- Perform the deployment with the authentication method set to Bizagi. This lets you access the Work Portal as the Admon user without providing any credentials.
- Once in the Work Portal, you can manually enter your users, or alternatively, rely on the method of your choice to synchronize your users' information into the WFUser table (SOAP, Excel file, LDAP Synchronization, or performing a Data Synchronization procedure).
- Perform an IISRESET so that the Admon user can no longer access the Work Portal.
- After having your users registered in the Work Portal, use the Management Console to set the authentication method to your preferred one.
If you plan on using LDAP authentication with periodic user synchronization, you may ignore the previous steps since you will only need to wait until the next synchronization happens for your users to be able to log into the Work Portal.
Configuration Steps
1. Generate Certificates to Sign Assertions (Mandatory)
This step is not bound to Bizagi nor restricted by any special requirement of Bizagi (you normally do it yourself).
If you need some guidance or an example on this step, refer to Certificates for SAML 2.0 authentication.
To proceed with these guided steps, you need to have:
- One certificate to sign assertions (mandatory) in
.P12or.PFXfile format. You need the password for the certificate file, as defined by you when you exported the public and private keys. - One certificate to encrypt messages (optional) in
.P12or.PFXfile format. You need the password for the certificate file, as defined by you when you exported the public and private keys.
Note:
You will need to manage your installed certificates (keep track of their expiration dates and other relevant maintenance aspects, such as changes in your Identity Provider's endpoints).
2. Configure Bizagi as Service Provider in Okta
2.1. Log in with admin rights to your Okta portal.
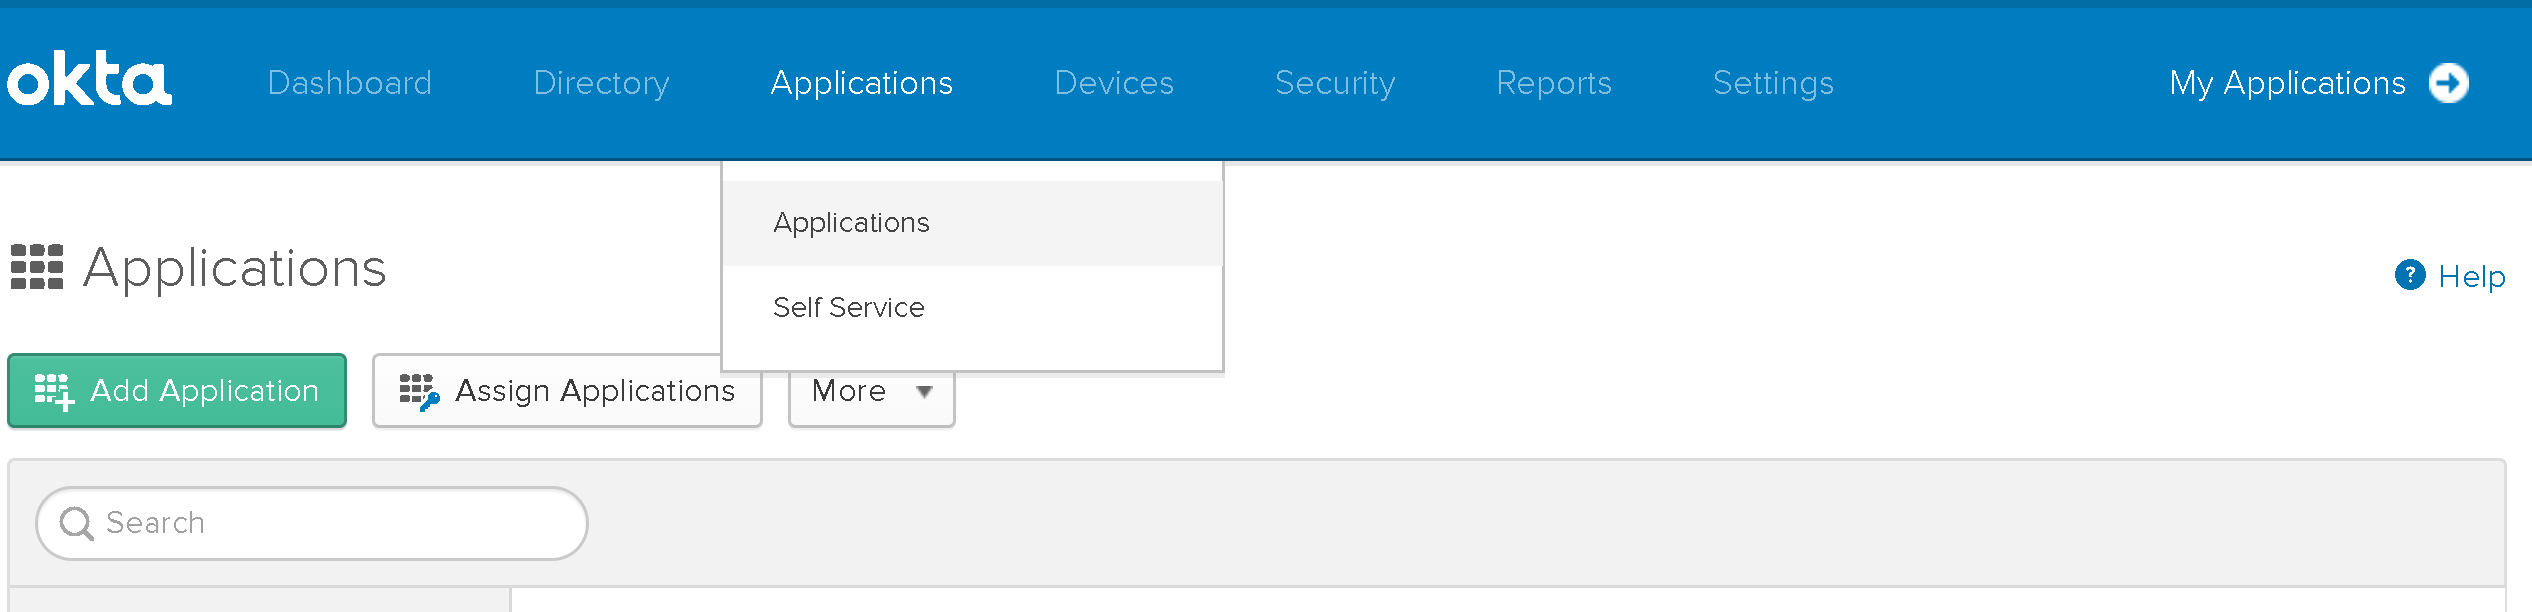
2.2. Locate the Applications menu and from it select Applications.
Then click Add Application:
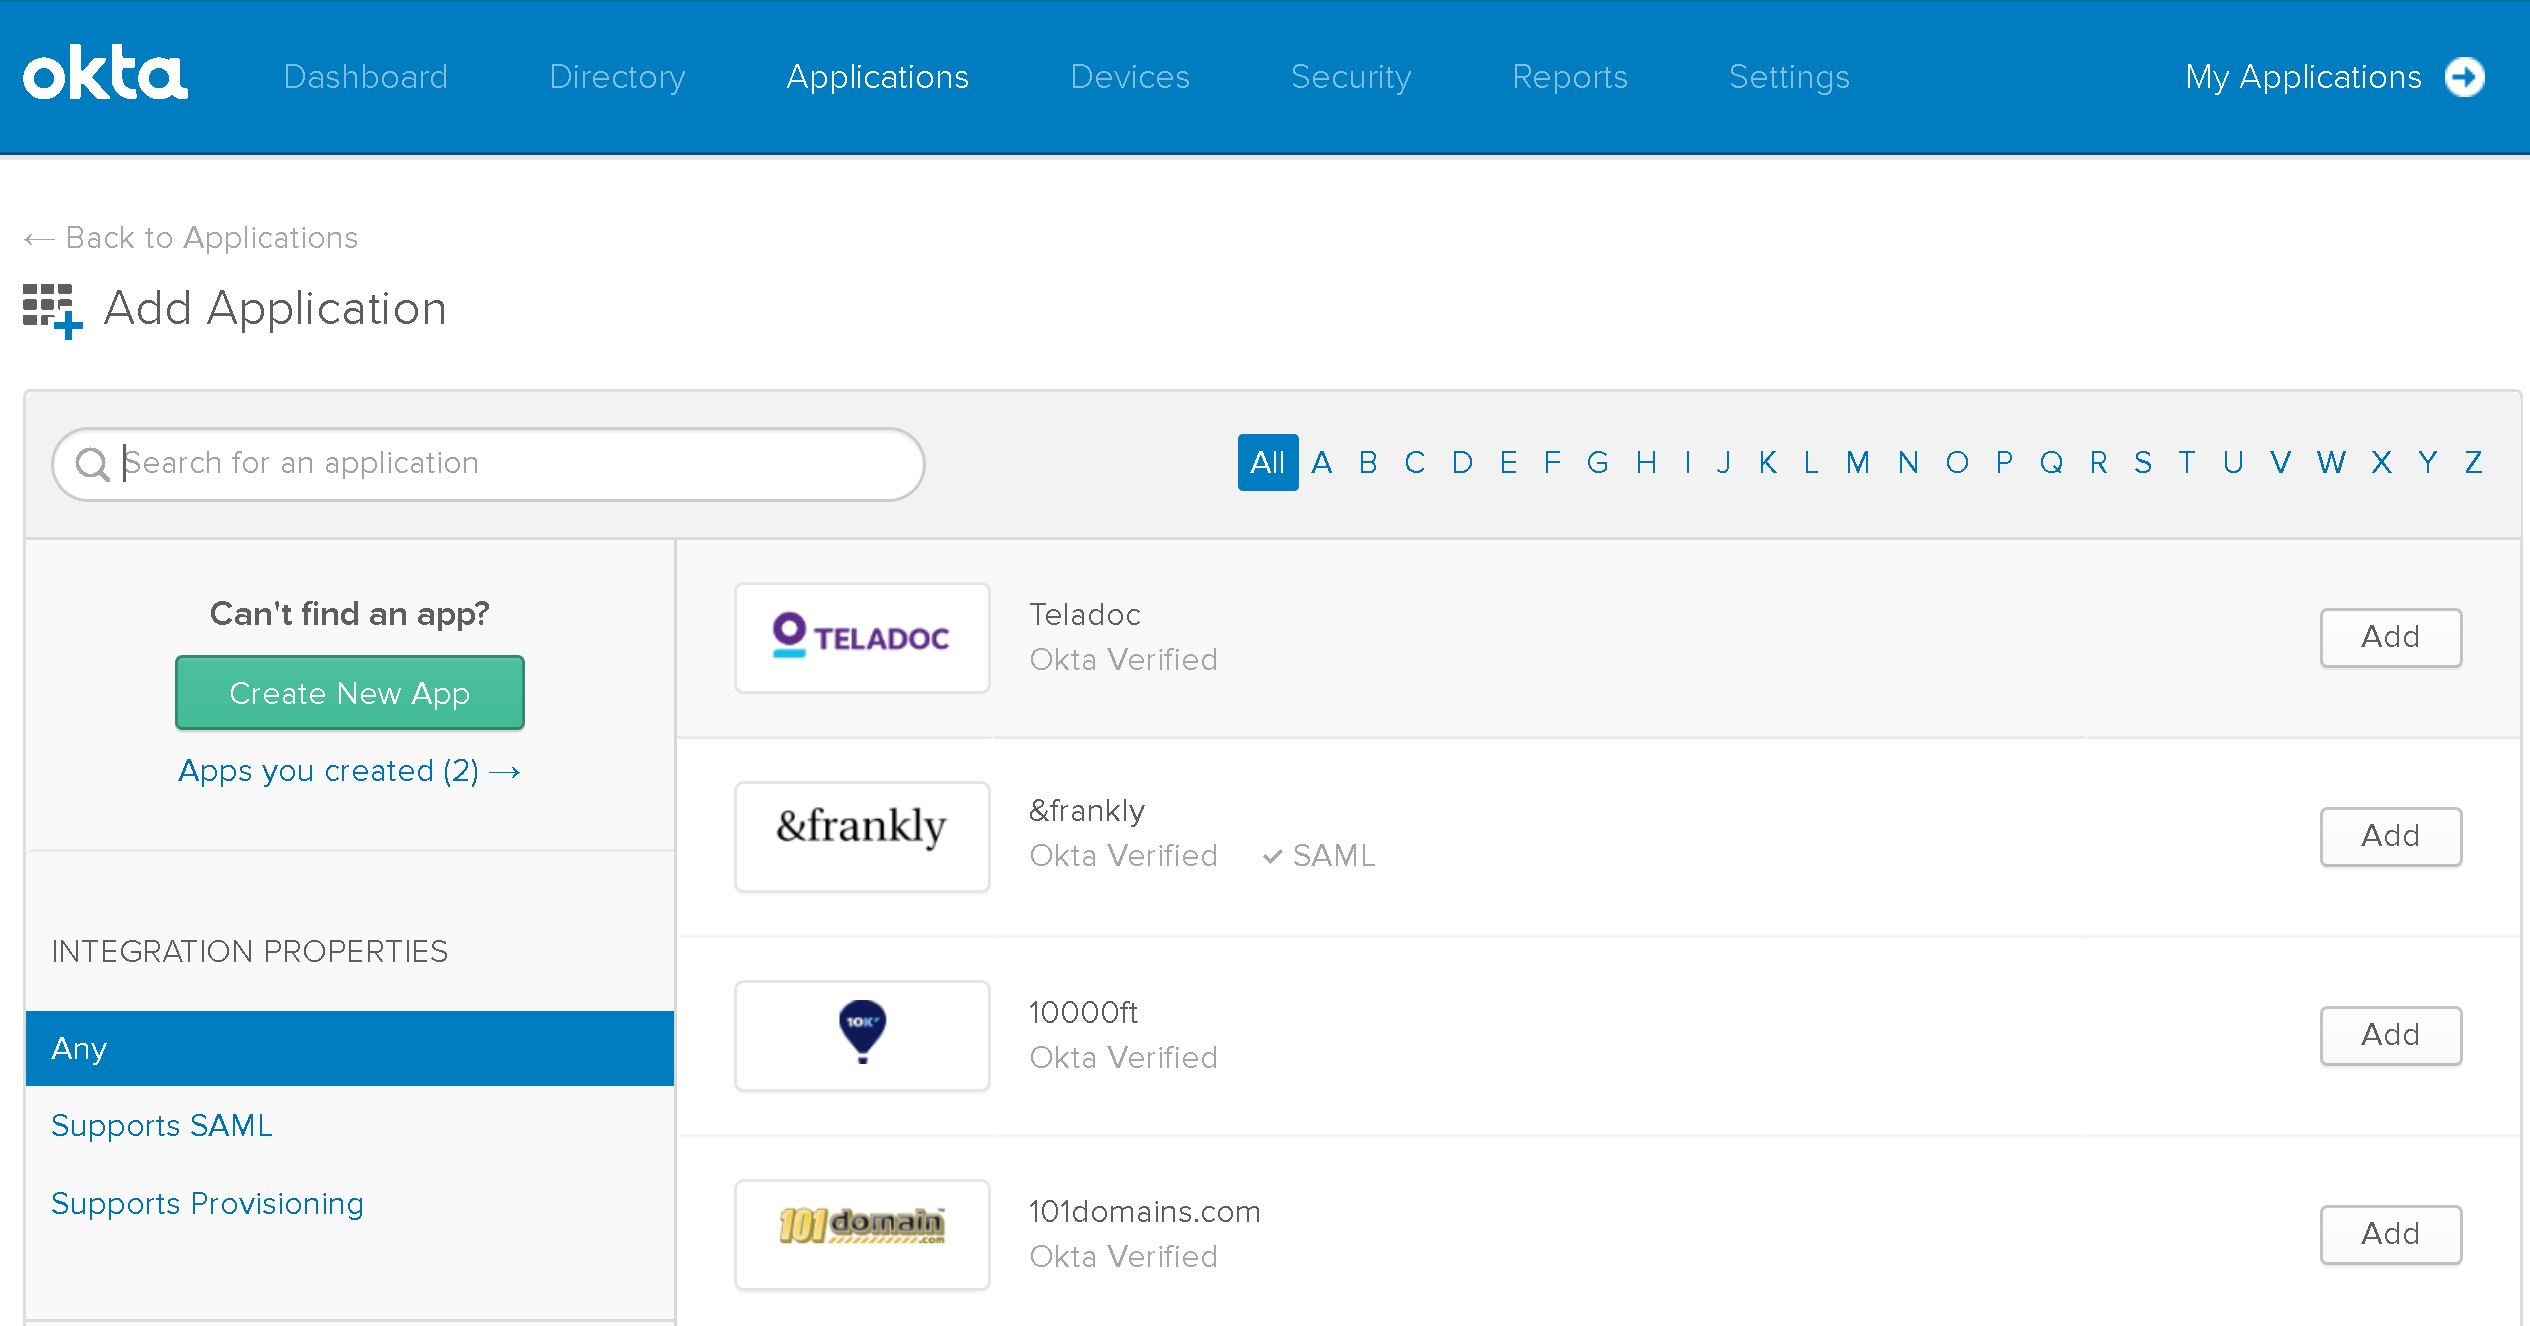
2.3. Click Create New App.
2.4. Provide the following details:
- Platform: Select Web.
- Sign-on Method: Click SAML 2.0.
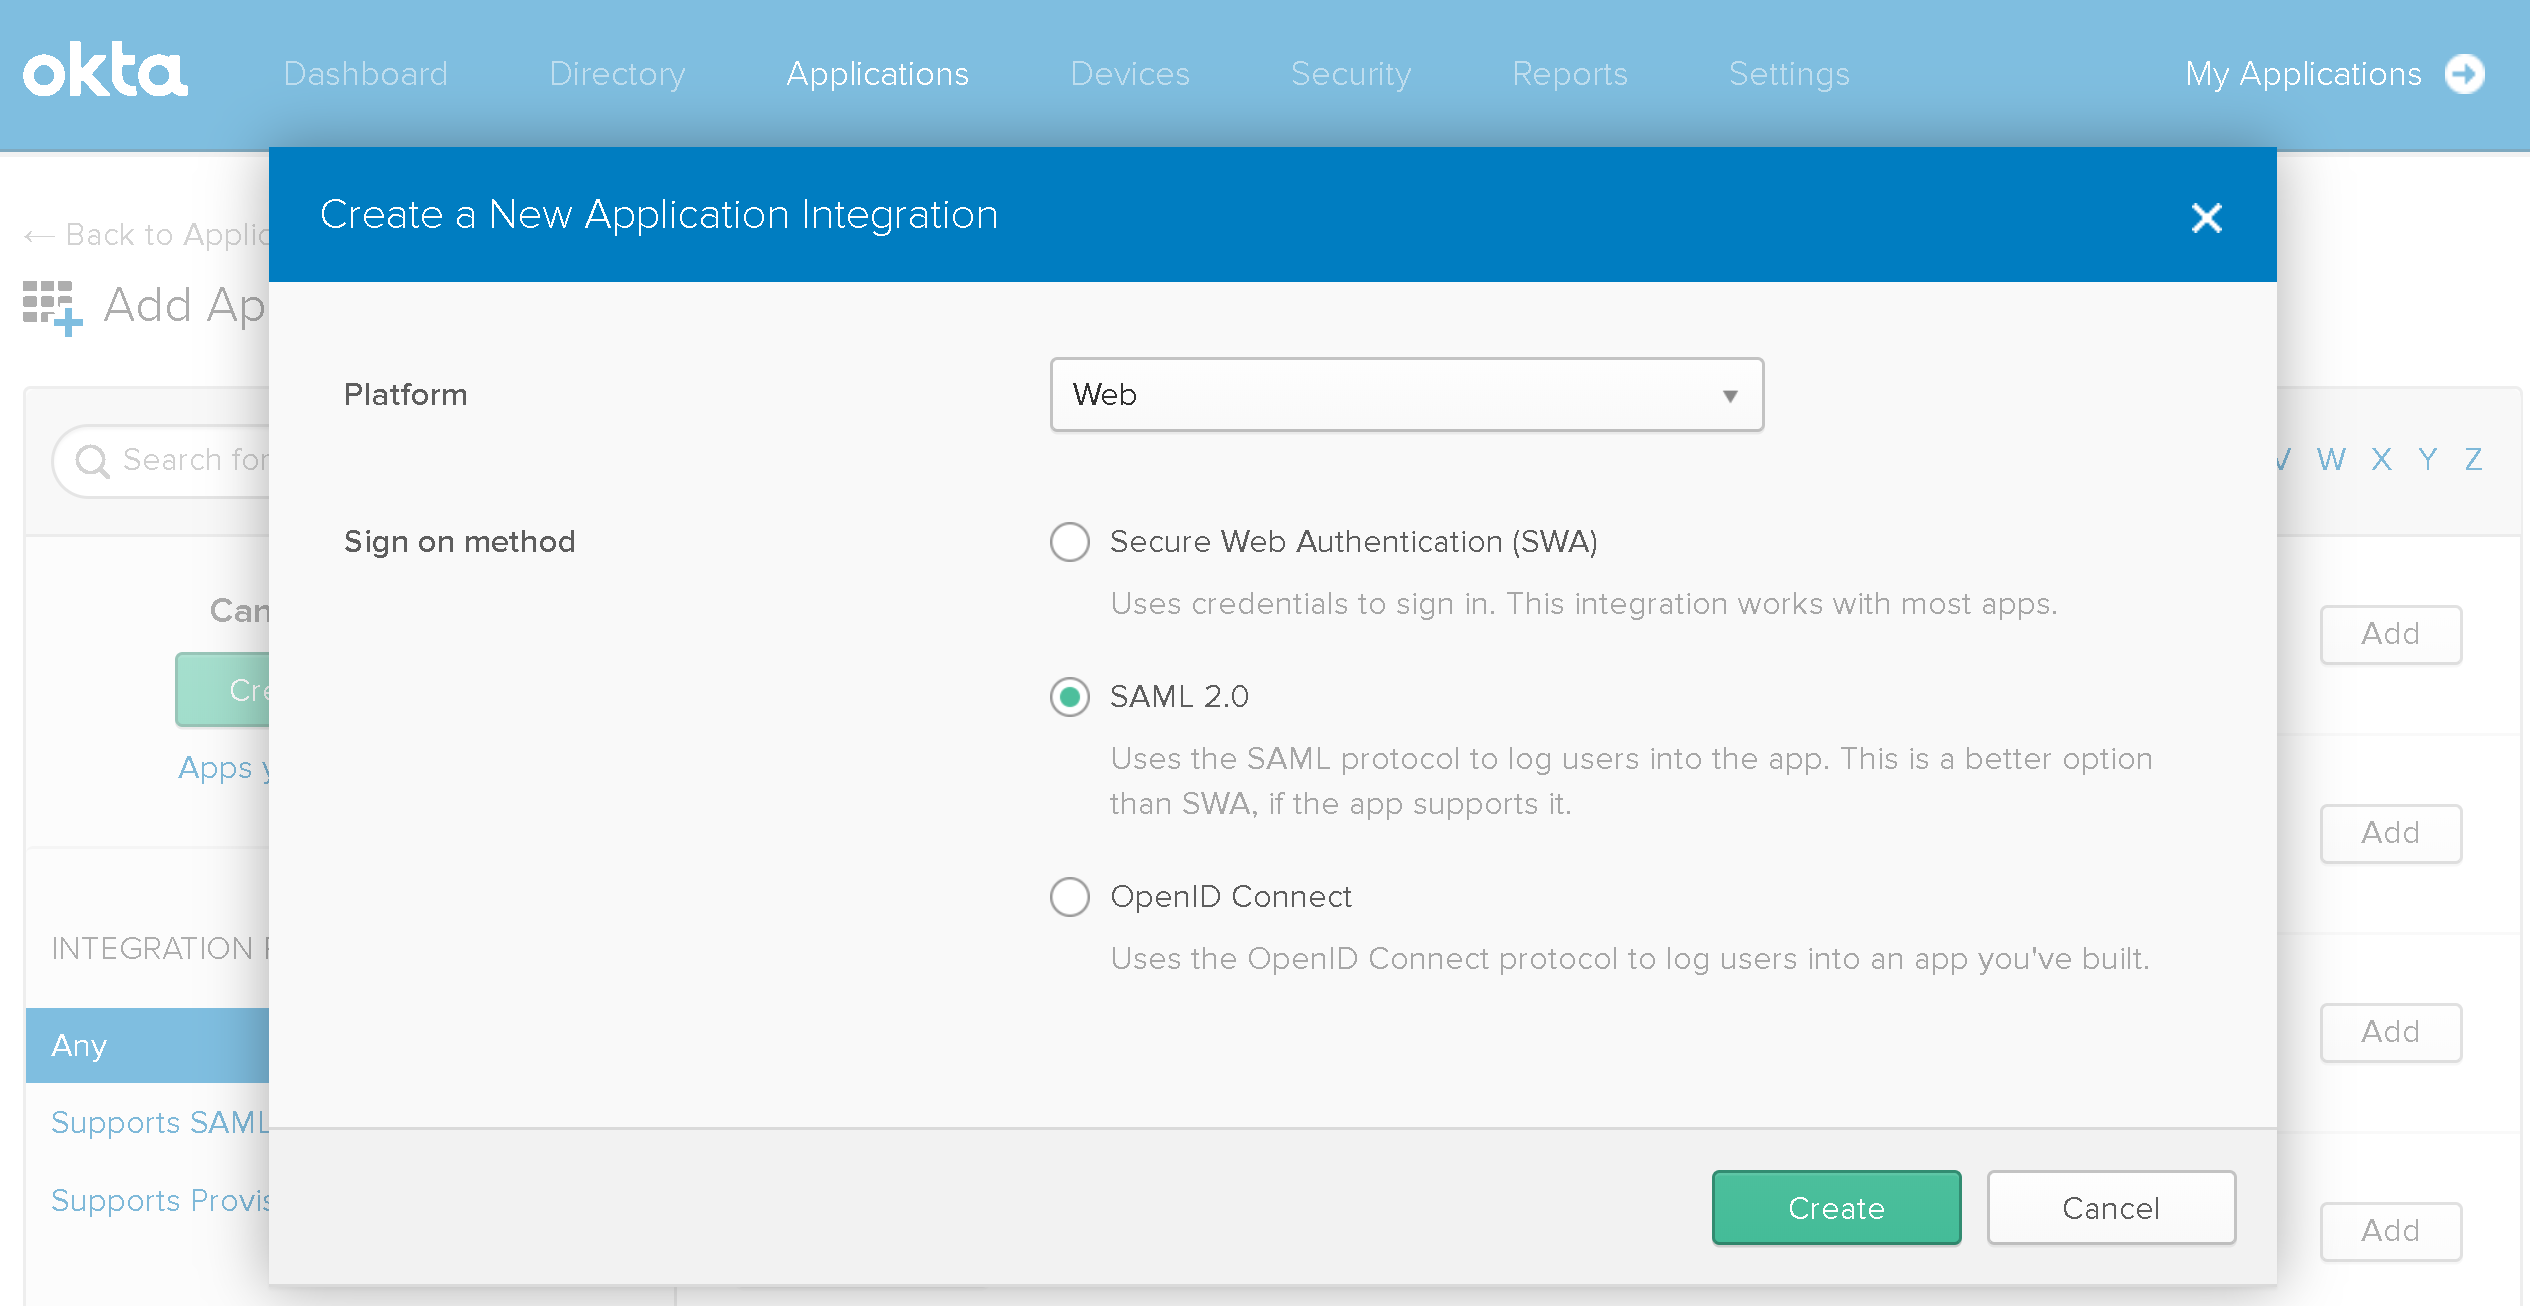
Click Create when done.
2.5. Go to the Create SAML Integration section.
2.6. Fill out General Settings:
- App Name: Provide a unique name for your app.
- App Logo: Select a representative logo for your app.
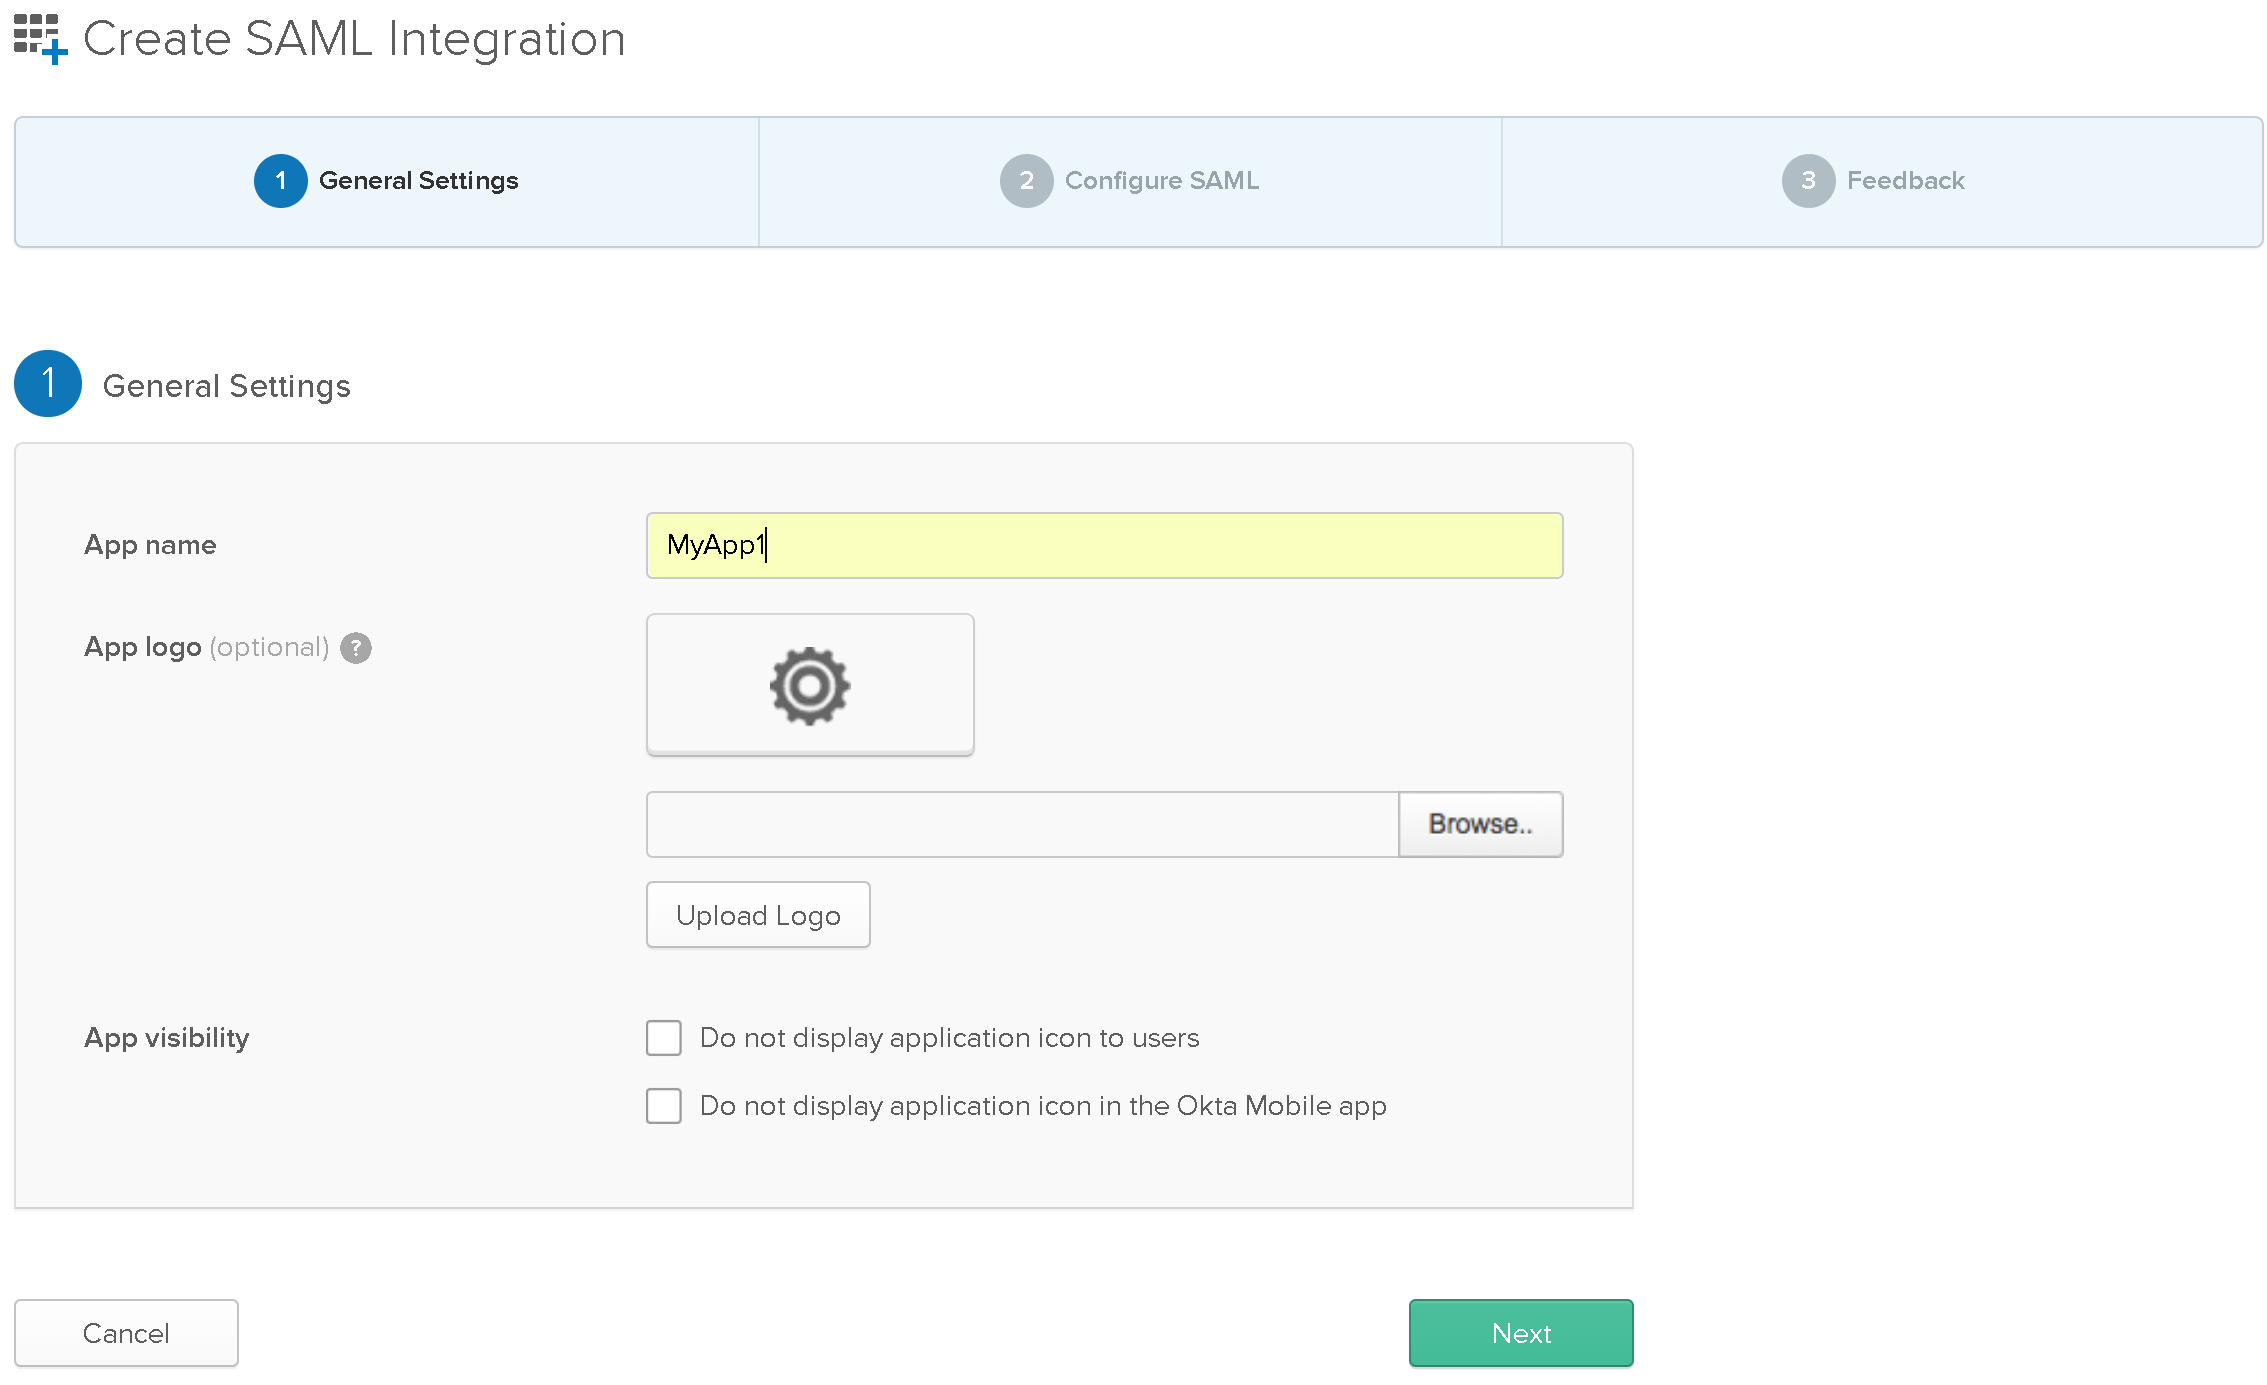
Click Next when done.
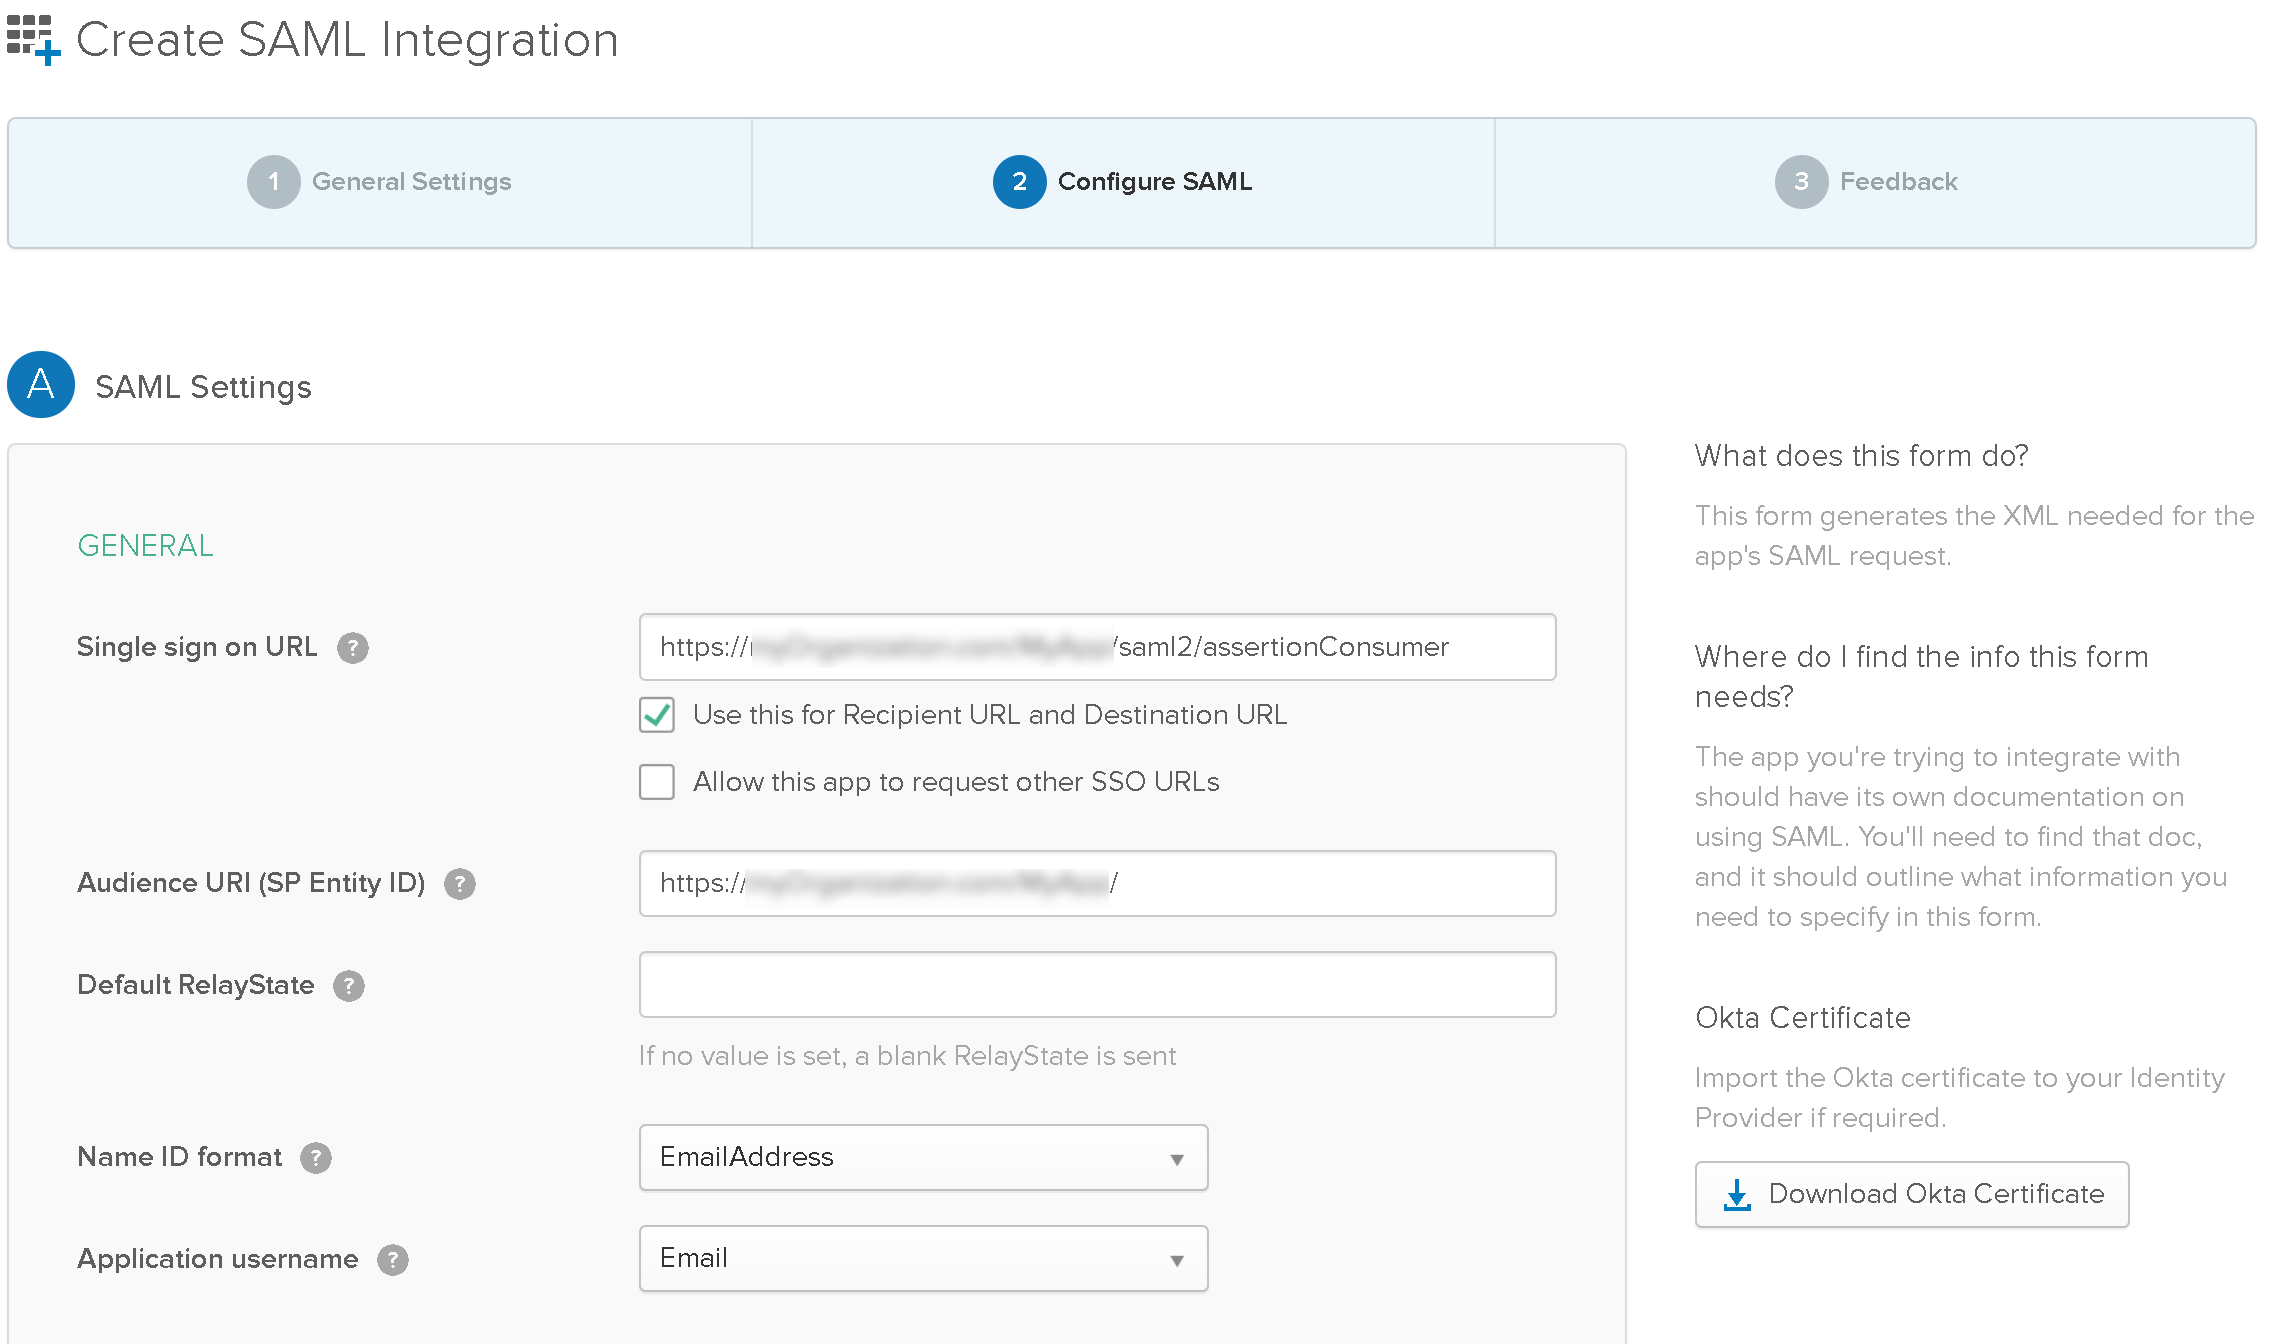
2.7. Fill out Configure SAML:
- Single Sign-on URL: Provide the URL of your Bizagi Work Portal followed by the
/saml2/assertionConsumersuffix.- Automation Service:
https://[environment]-[project]-[company].bizagi.com/saml2/assertionConsumer - On-premises projects:
https://[server]/[project]/saml2/assertionConsumer
- Automation Service:
- Use this for Recipient URL and Destination URL: Check this option.
- Audience URI (SP Entity ID): Provide the URL of the Bizagi Work Portal configured in Bizagi Studio (or the Bizagi Management Console).
- Automation Service:
https://[environment]-[project]-[company].bizagi.com - On-premises projects:
https://[server]/[project]
- Automation Service:
- Default RelayState: Leave empty.
- Name ID Format: Select E-mailAddress.
- Application Surname: Select Email.
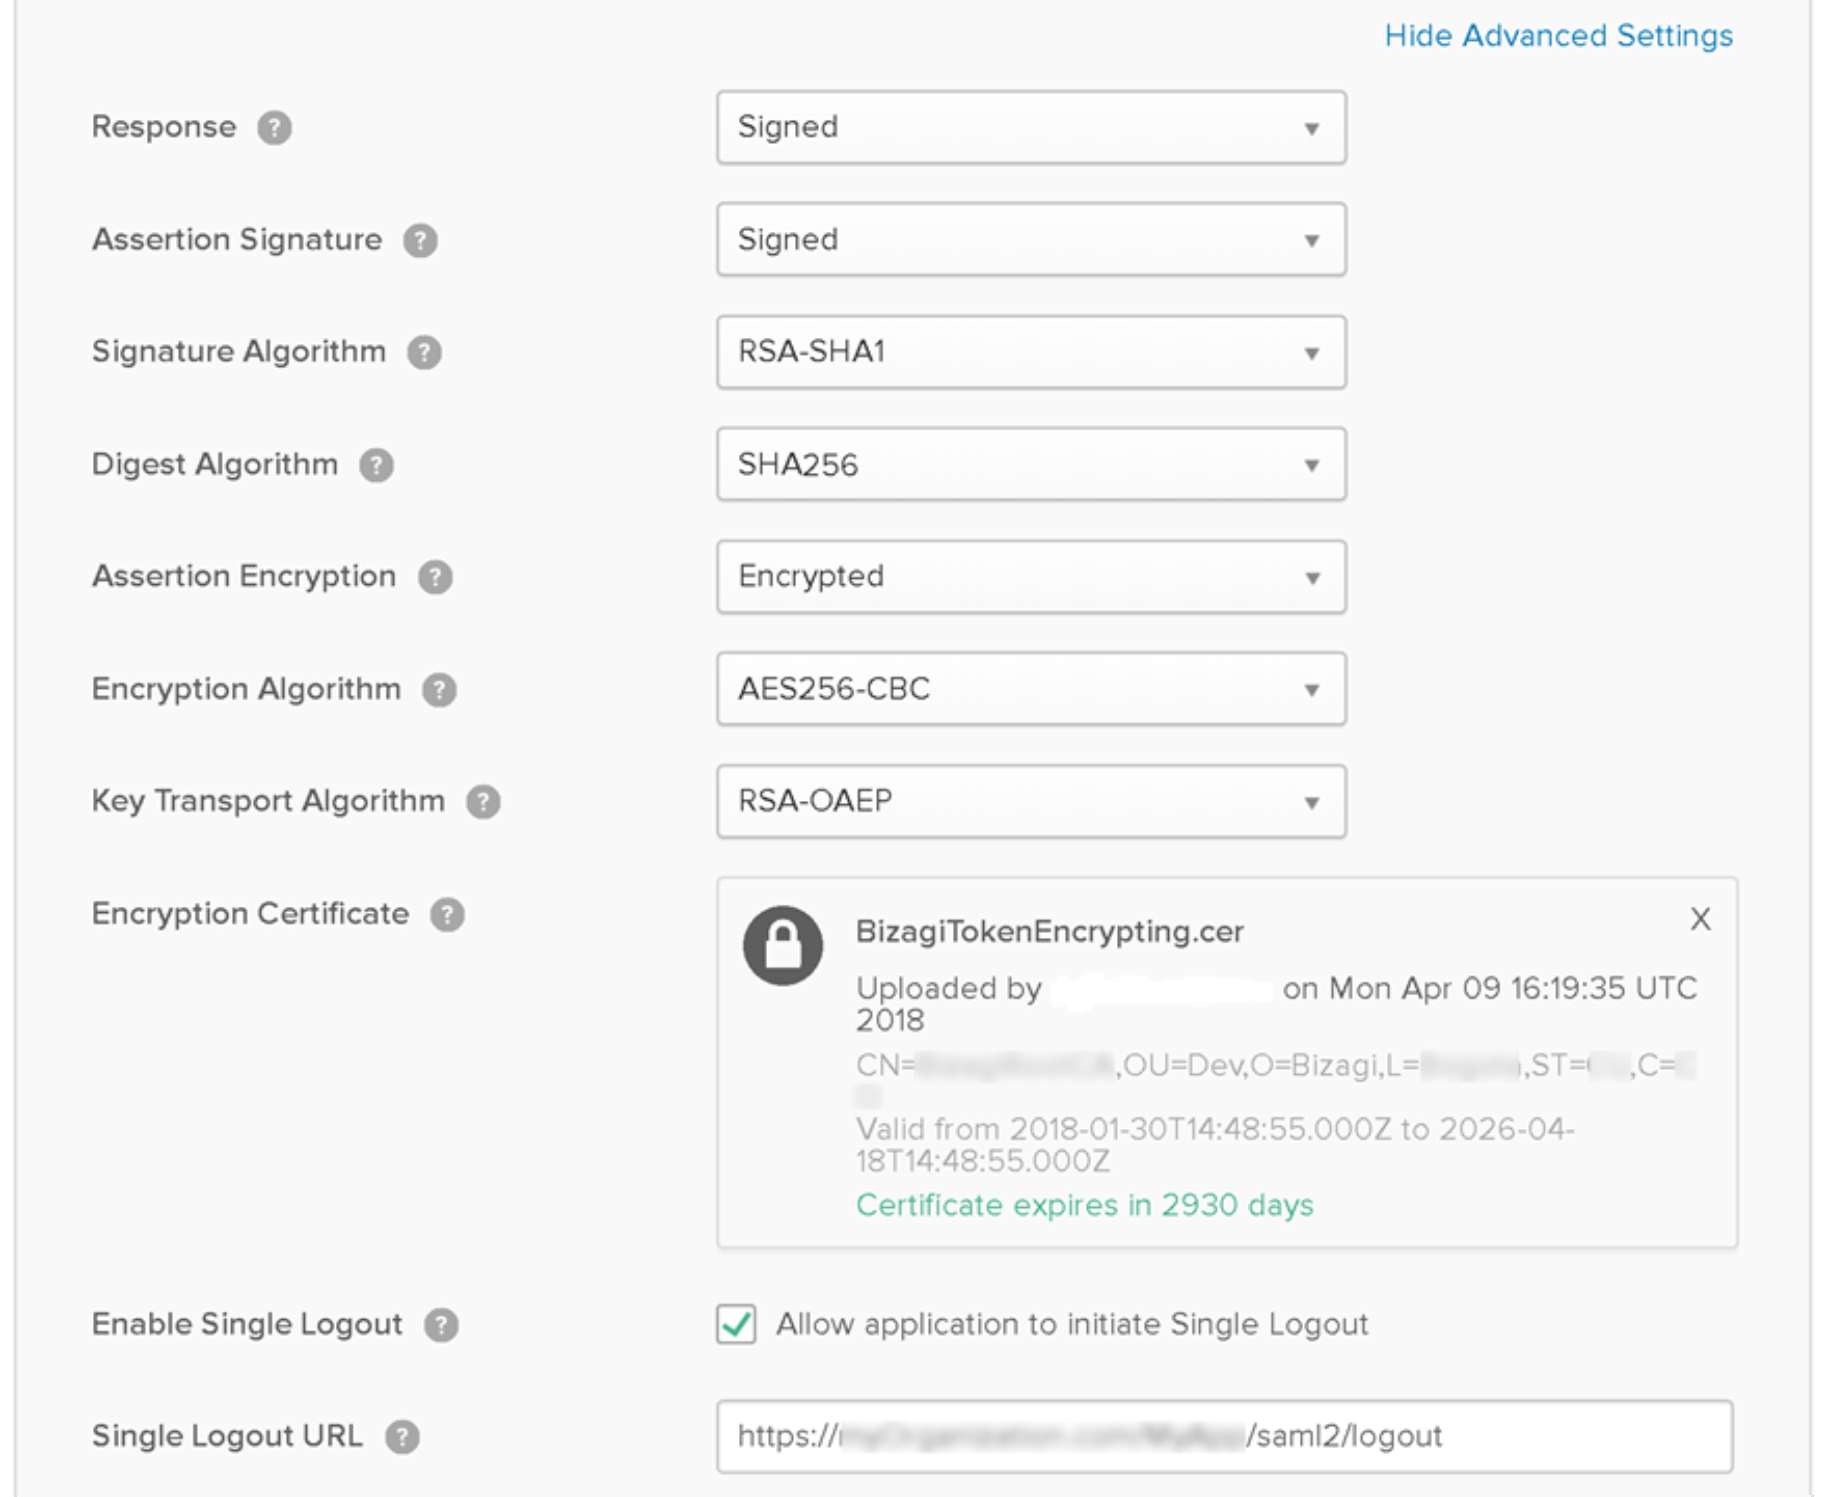
2.8. Fill out Show Advanced Settings:
- Response: Select Signed.
- Assertion Signature: Select Signed.
- Signature Algorithm: Select RSA-SHA1 or RSA-SHA256 (according to the one configured in Bizagi).
- Digest Algorithm: Select SHA256 (recommended).
- Assertion Encryption: Select Encrypted.
- Encryption Algorithm: Select AES256-CBC.
- Key Transport Algorithm: Select RSA-1.5.
- Encryption Certificate: Upload the public certificate for encryption purposes.
- Enable Single Logout: Select Allow application to initiate Single Logout.
- Single Logout URL: Provide the URL of your Bizagi Work Portal followed by the
/saml2/logoutsuffix.- Automation Service:
https://[environment]-[project]-[company].bizagi.com/saml2/logout - On-premises projects:
https://[server]/[project]/saml2/logout
- Automation Service:
- SP Issuer: Enter the Bizagi Work Portal URL configured in Bizagi Studio (or the Bizagi Management Console).
- Automation Service:
https://[environment]-[project]-[company].bizagi.com - On-premises projects:
https://[server]/[project]
- Automation Service:
- Signature Certificate: Upload the signing certificate.
- Authentication Context Class: Select PasswordProtectedTransport.
- Honor Force Authentication: Select Yes.
- SAML Issuer ID: Leave the default value generated by Okta.
Click Next when done.

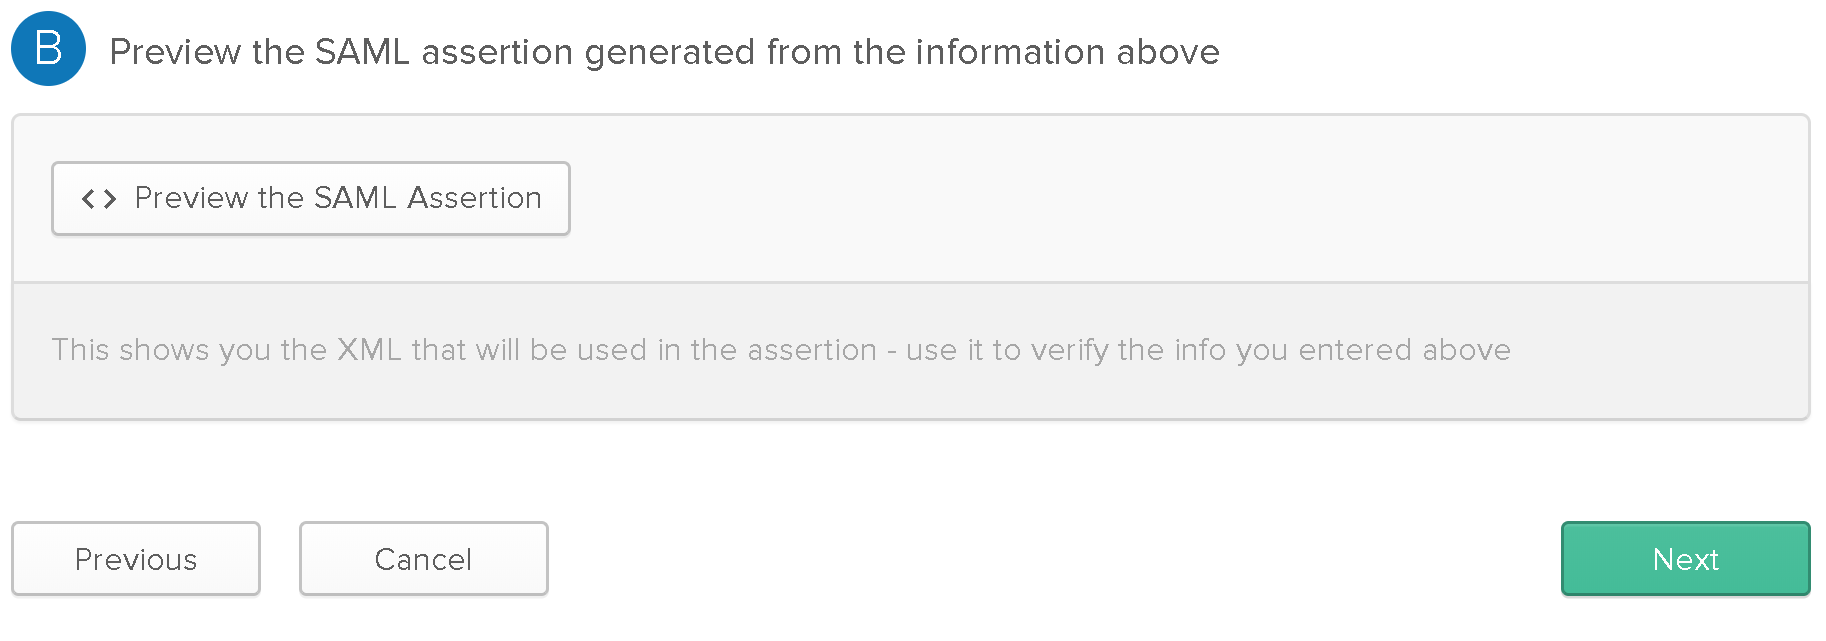
2.9. Leave the defaults and empty fields for other options and click Next.

You can preview how the assertion would be set in runtime:
2.10. In the Feedback tab, you may choose to set:
- Customer or Partner: Select I'm an Okta customer adding an internal app.
- App Type: Check This is an internal app that we have created.
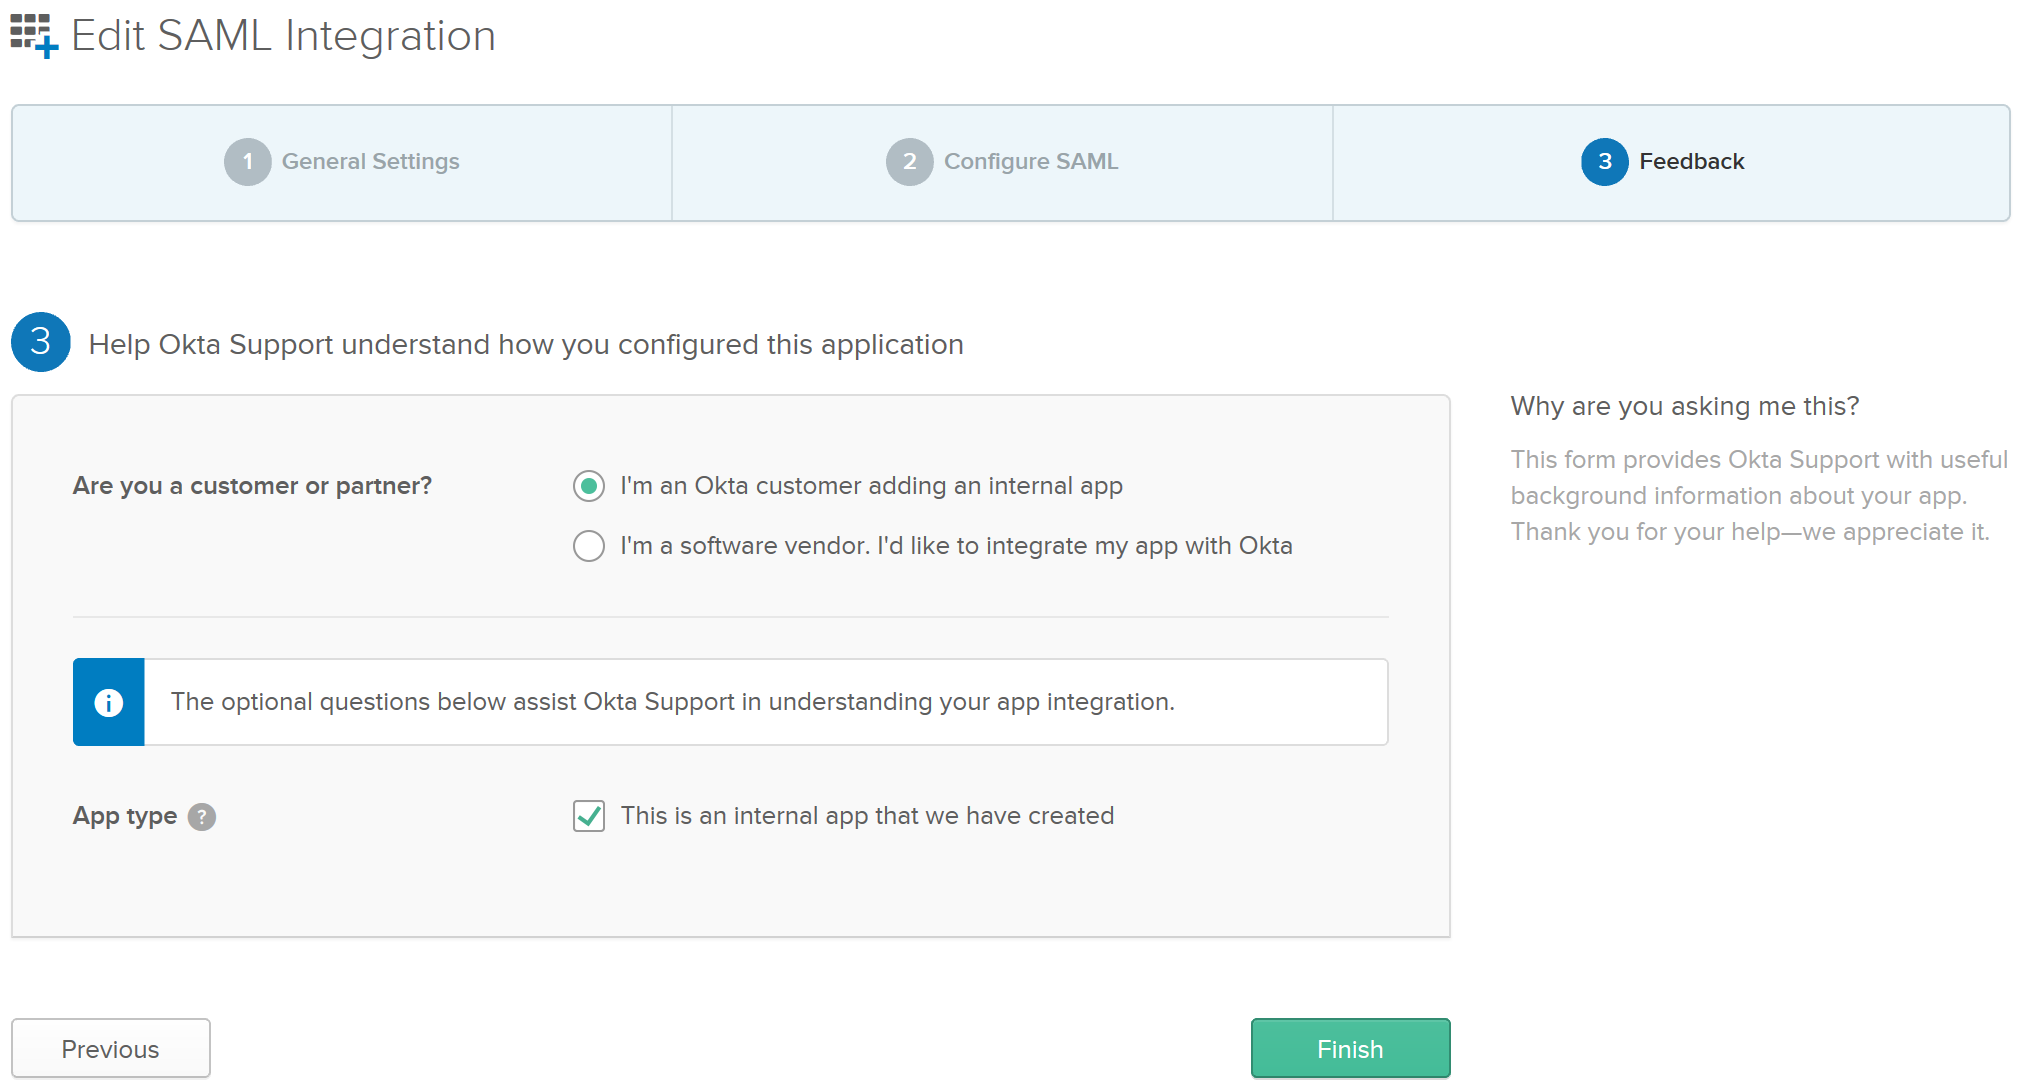
Click Finish when done.
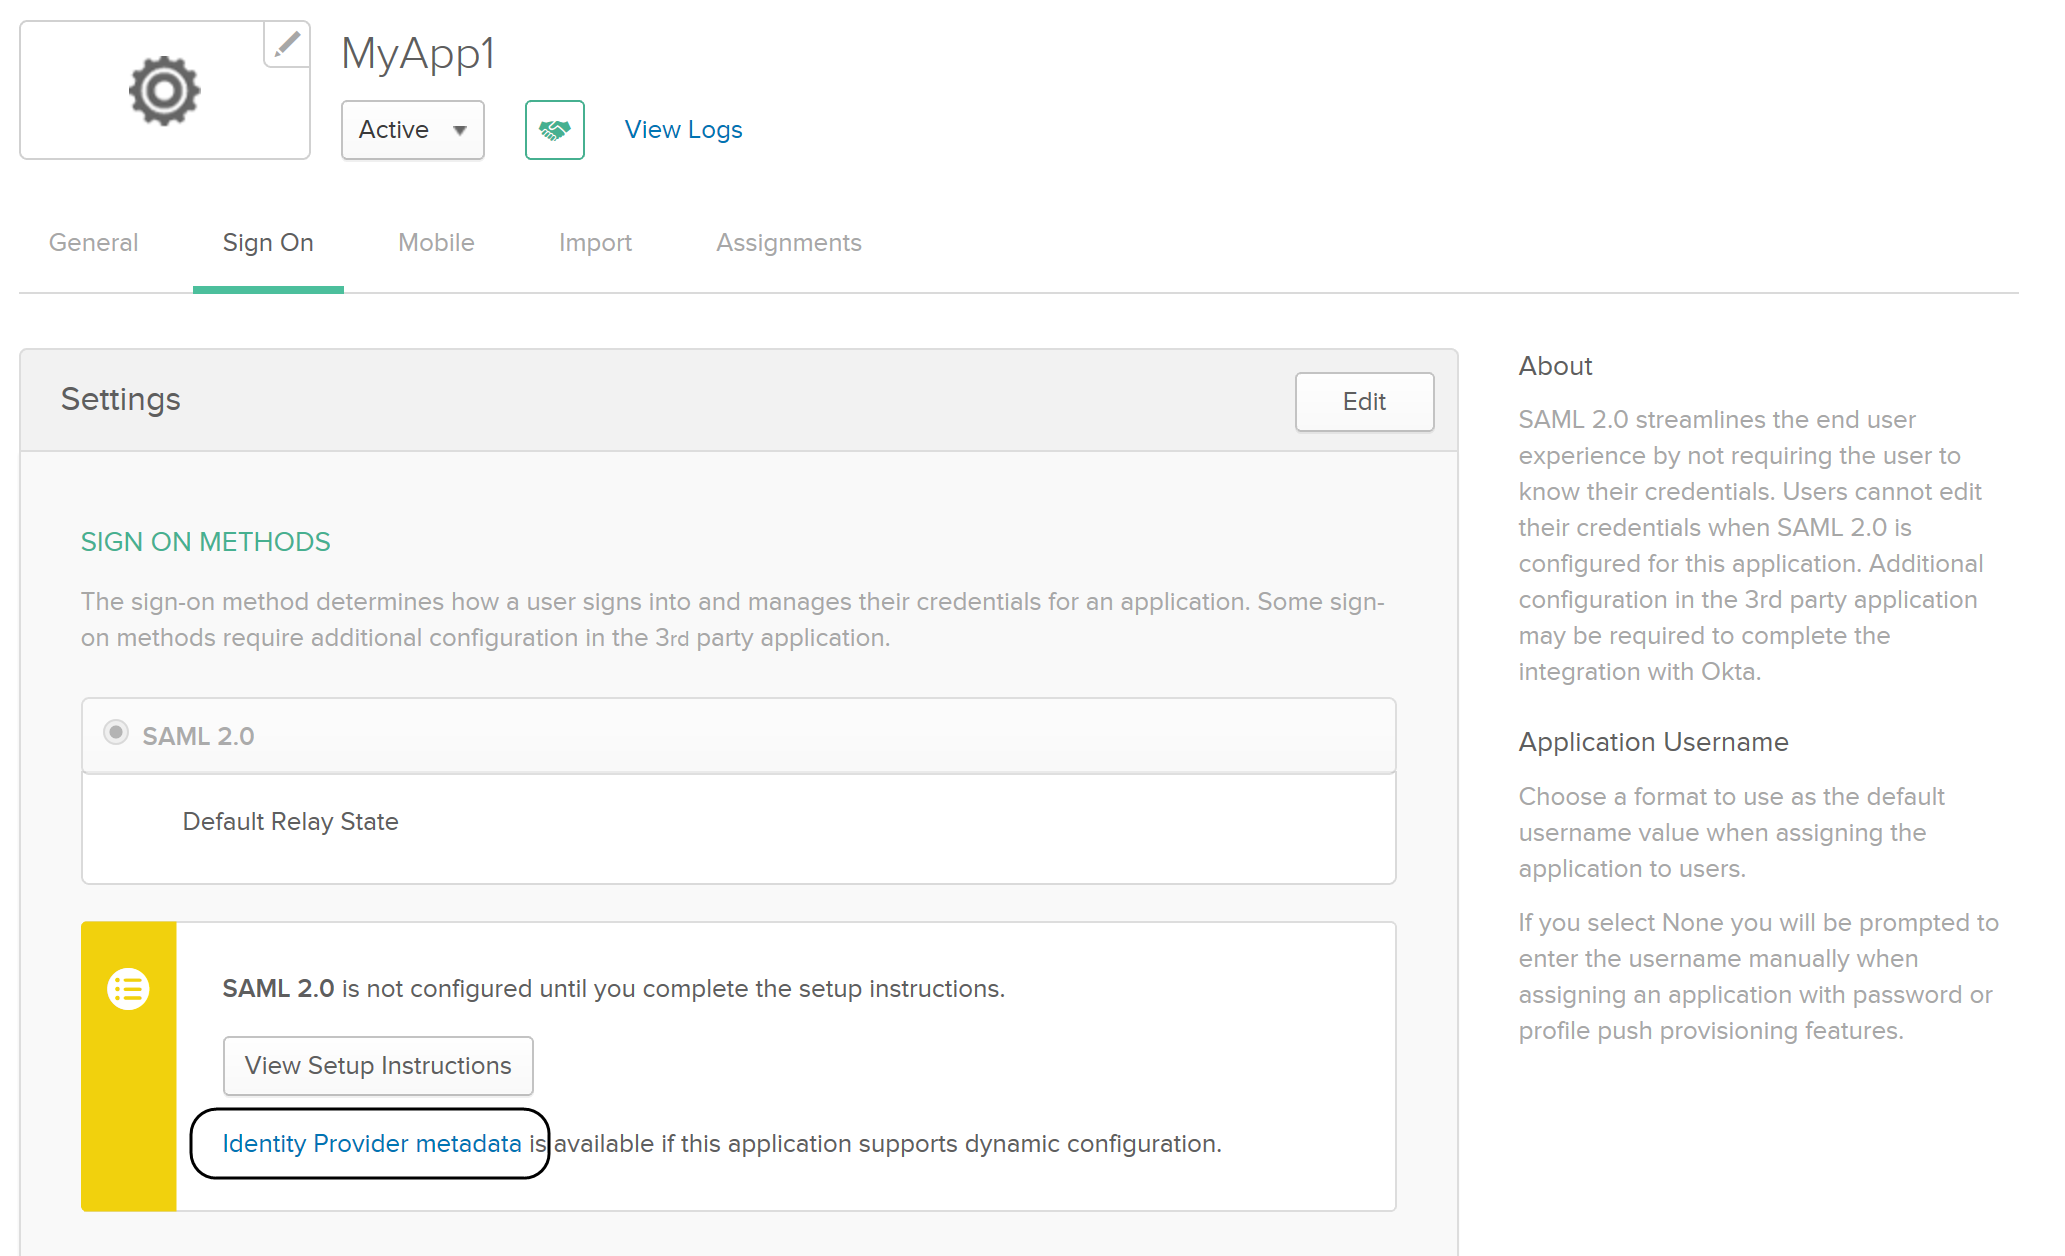
2.11. Finally, once the app is created, browse to its details and into the Sign On tab.
2.12. Select the hyperlink labeled as Identity Provider metadata.
3. Configure Your IdP in Bizagi
After you configure the application in Okta, access Bizagi Studio or the Management Console and register the Identity Provider.
Refer to Configure a SAML 2.0 IdP in Bizagi.
Now when you run the Work Portal, Bizagi displays the IdP log-in page, allowing users to authenticate with your Identity Provider.
Note:
Apply this configuration in all environments or deploy security configurations across target environments (e.g., test, production).